Preparation
Before you begin: Assuming you wish to reinstall windows, you'll need to get a
USB stick or external drive and create a recovery disk. While this can be done
with any Windows machine, you probably want to just use the existing computer
before wiping it. You can follow the instructions found
here.
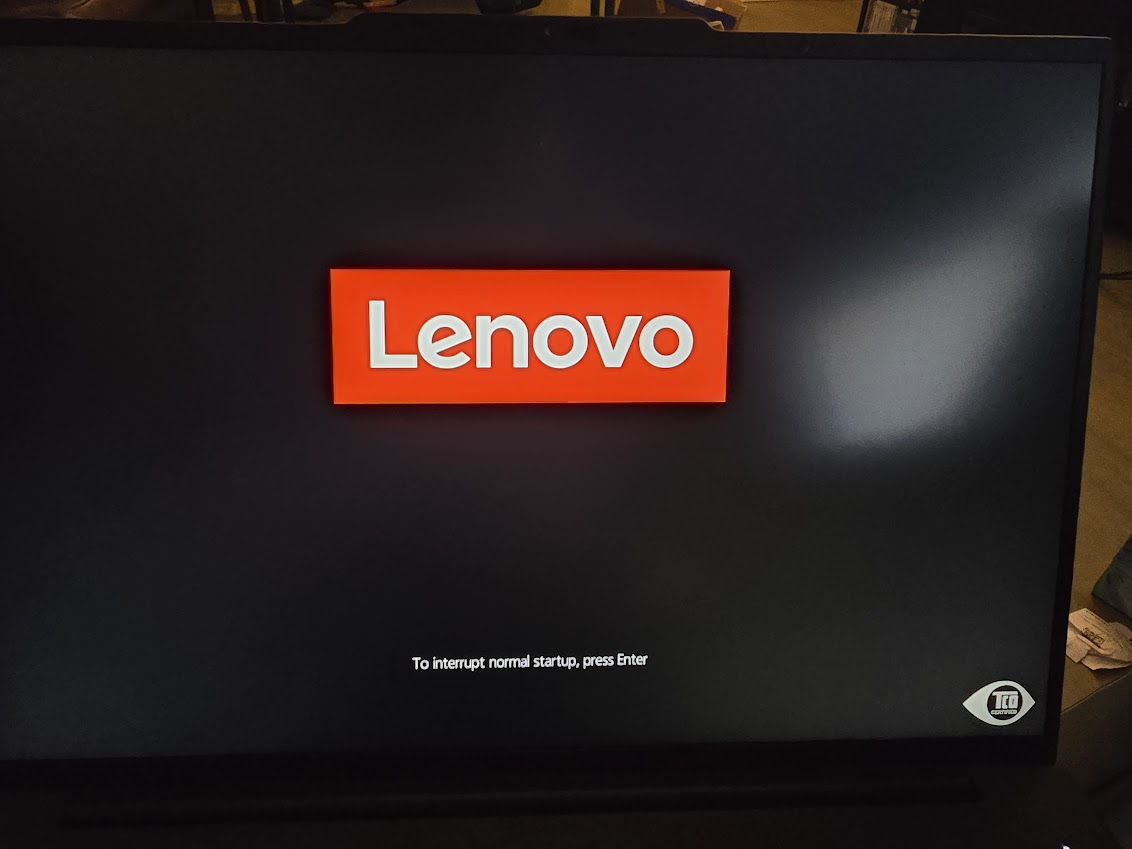
Splash Screen
Shut the computer down (do not just reboot), and power it back up. When you see
the red "Lenovo" screen, press the F12 key to get into the boot menu.
(If you see Windows, it's gone too far. Hold the power down and try again. I
suggest just tapping F12 until the text under the banner changes to
"Entering boot menu".)
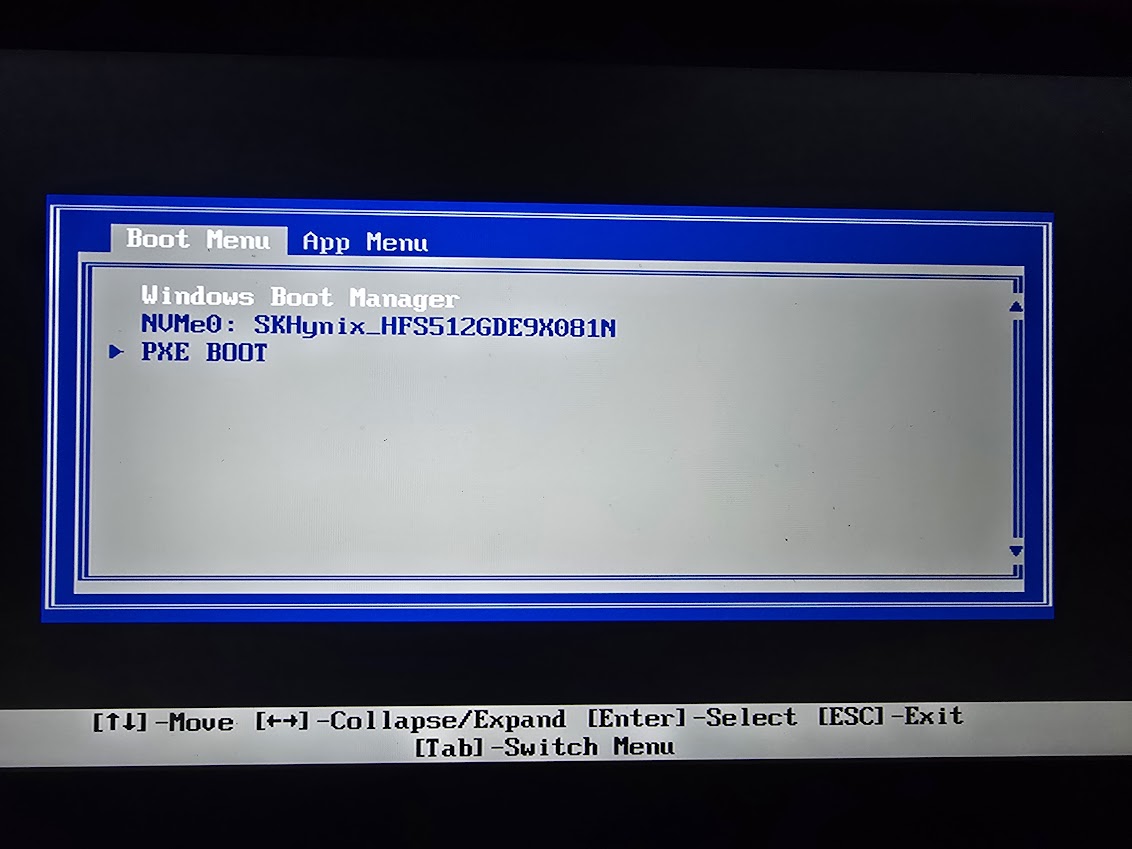
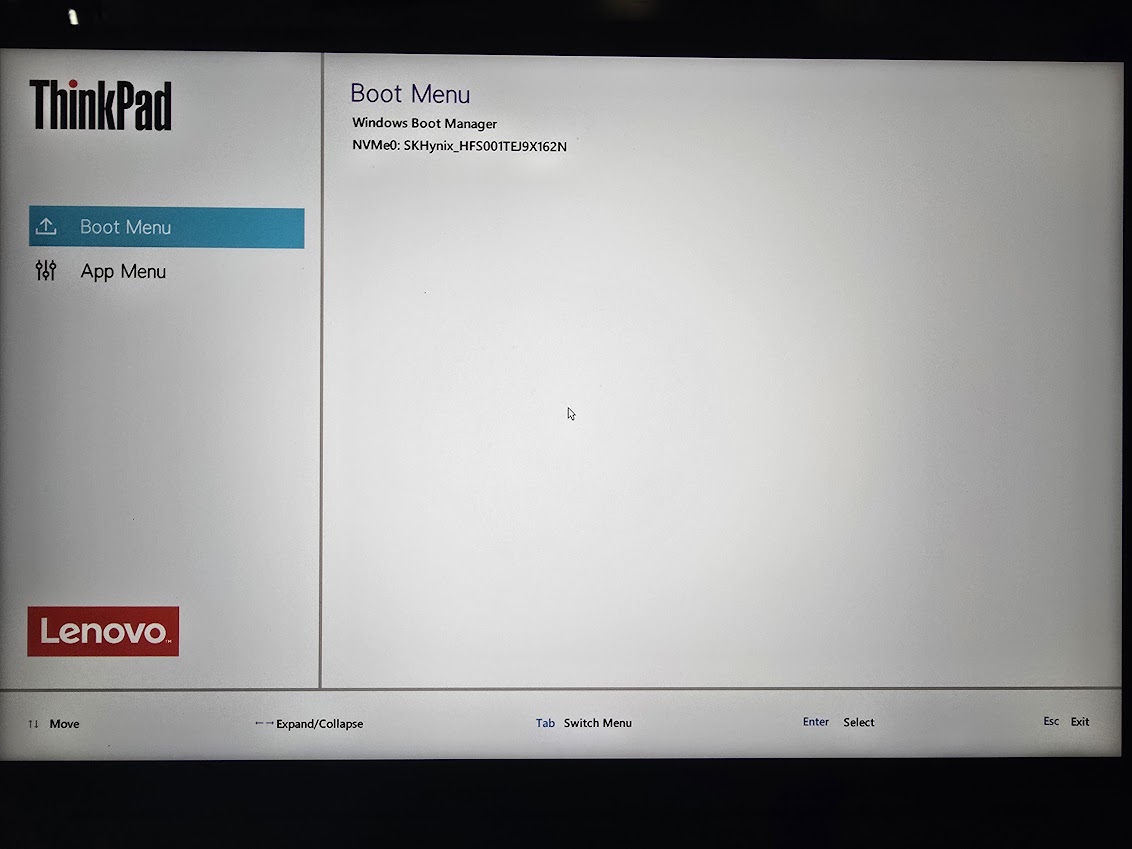
Boot Menu
On the boot menu, navigate to the "App Menu" -- if you see the first screen,
press the tab button, on the second, you can click on the icon to the left with
the mouse.
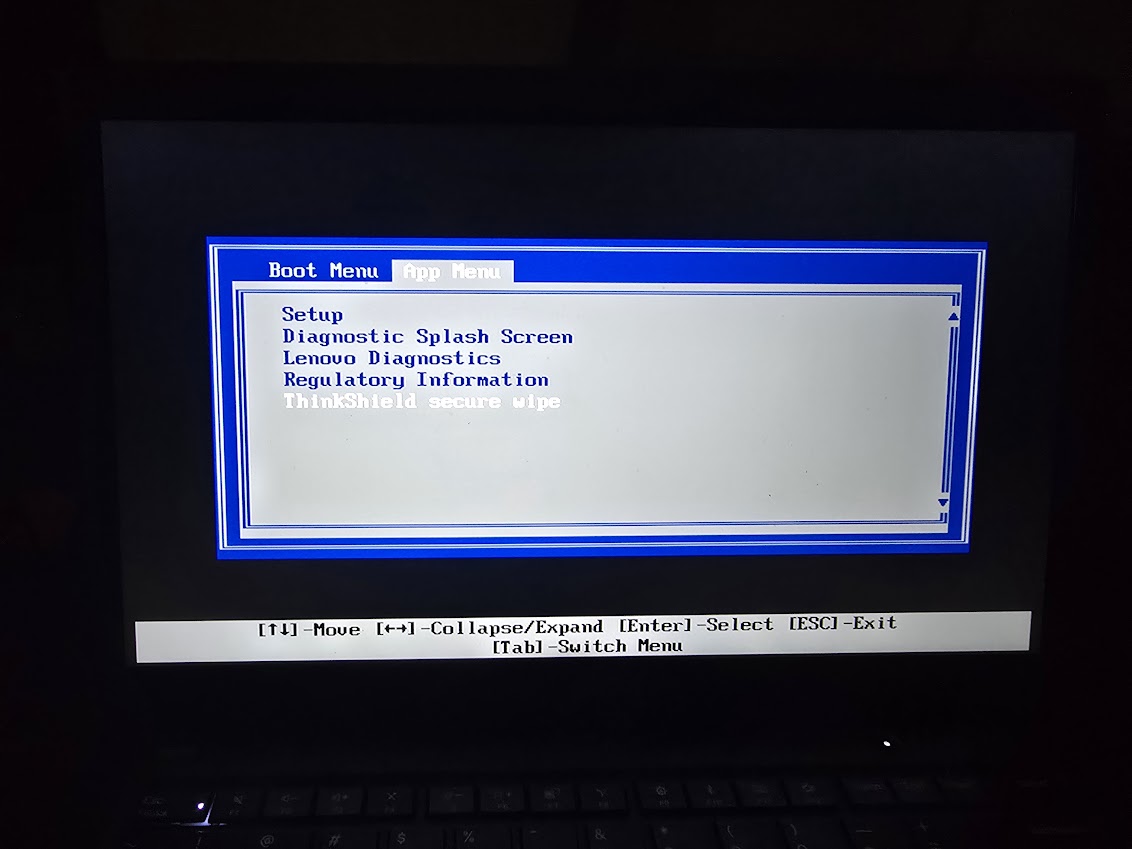
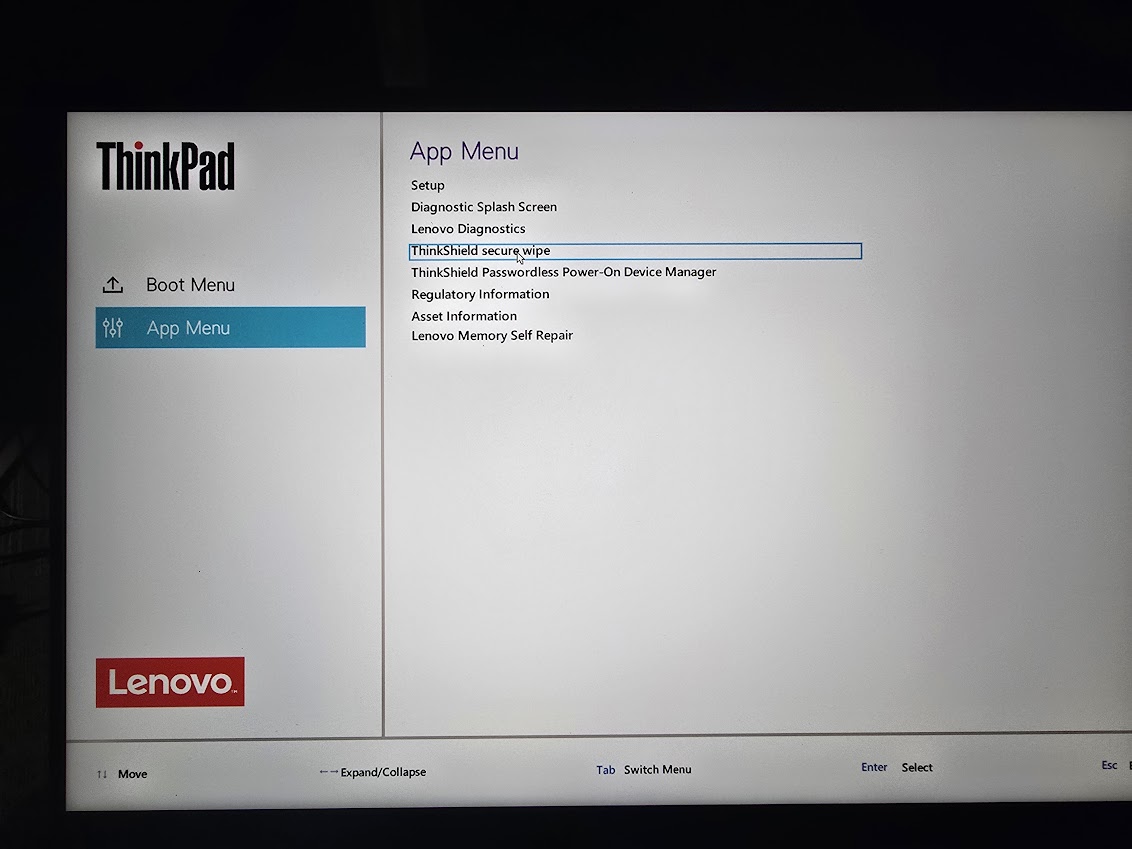
Apps Menu
Once in the apps menu, select "Thinkshield secure wipe" -- again, if you see
the first screen, you'll use the keyboard, the second will use the mouse.
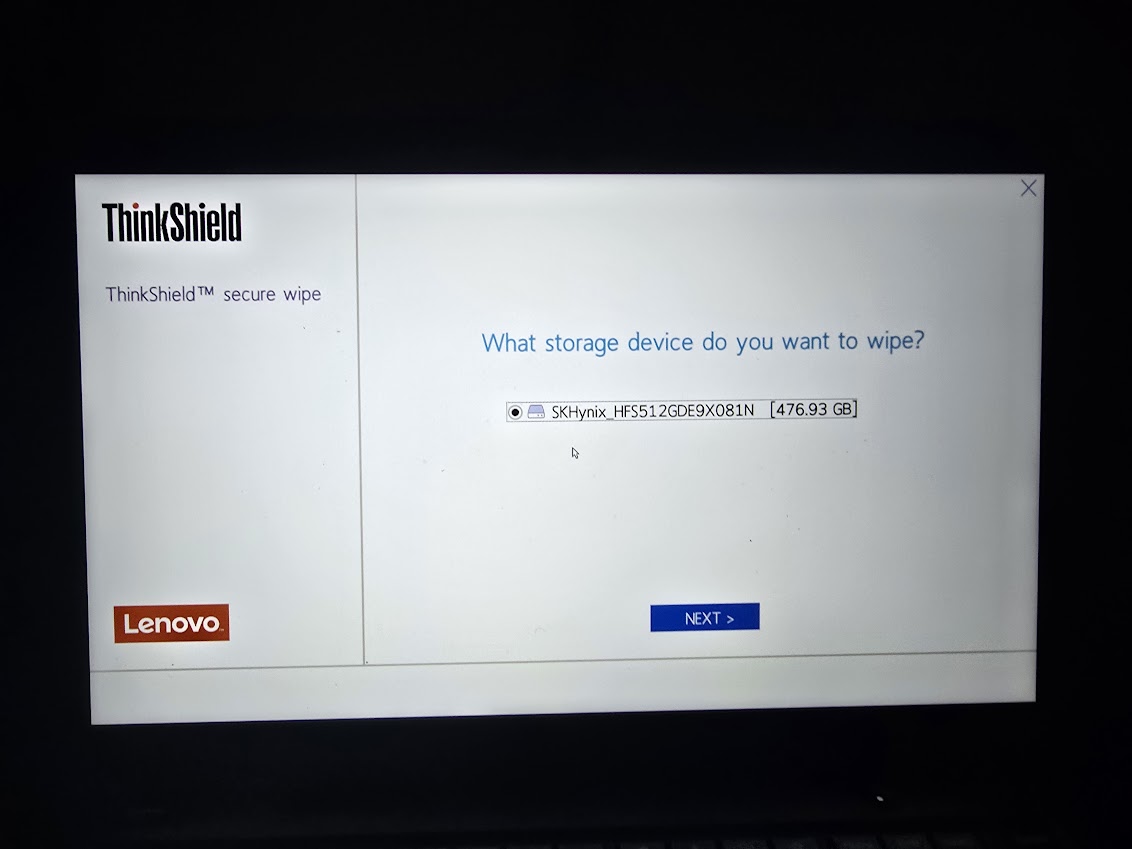
Select Device
You should now see your harddrive listed. Click next.
Select Method
If the pulldown menu contains "Erase all "NVMe User Space", select that.
Otherwise, you should select "ATA Secure Erase". Click "Next".

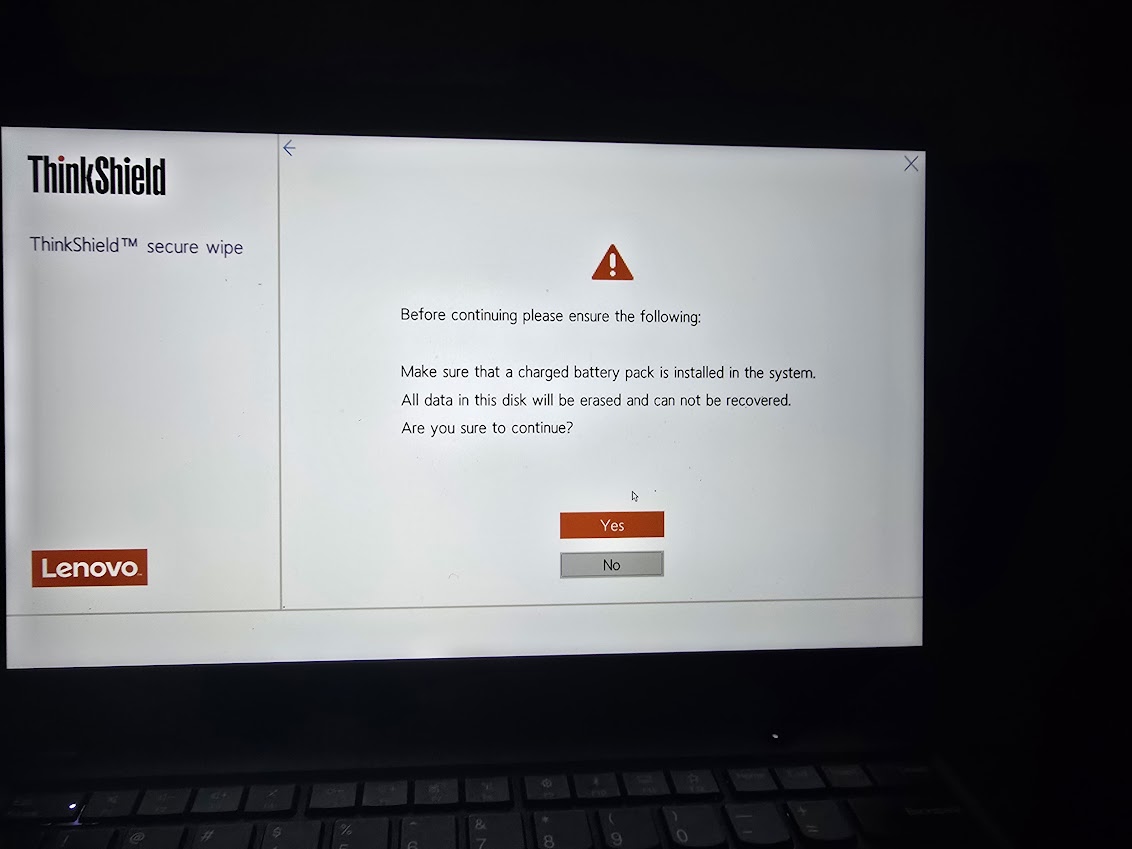
Danger! Danger! High Voltage!
You're now being warned that this process will erase all data. Click "Yes" so
that the data's fate will be sealed.
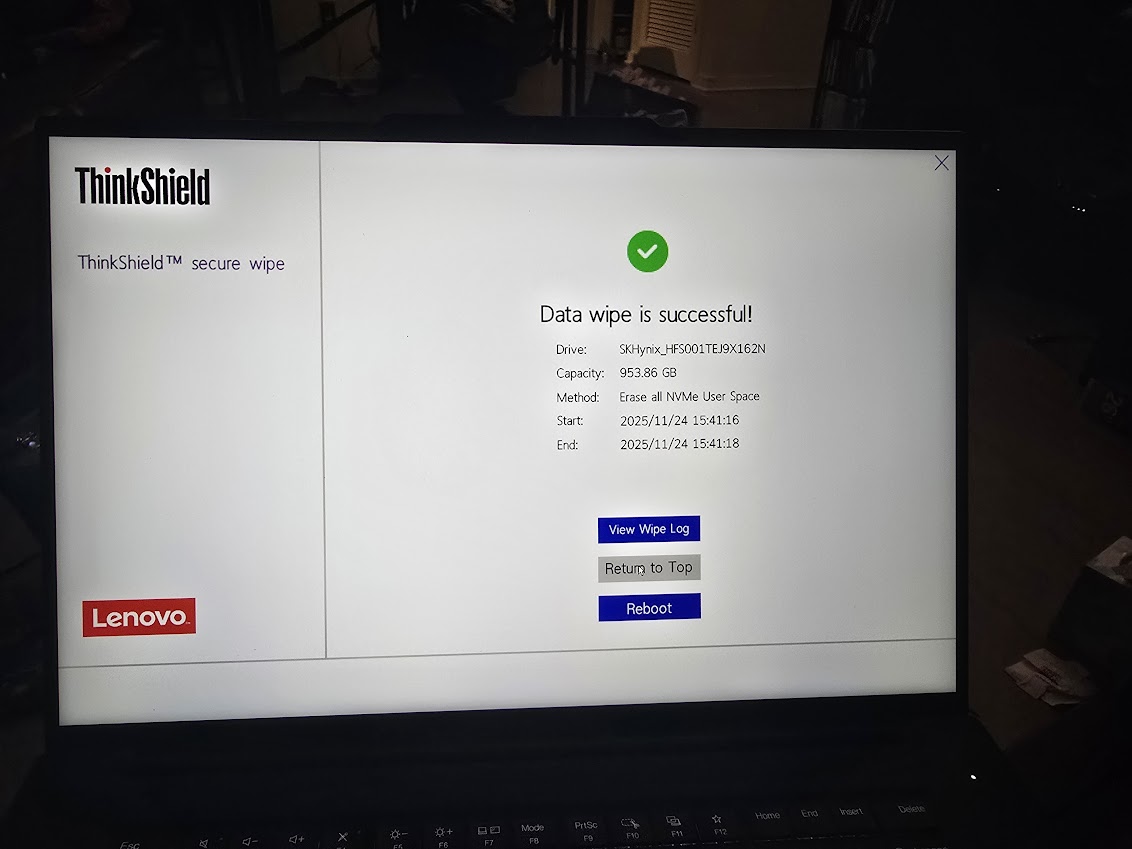
Success
Hopefully, you should see one of the two success messages below.
Depending on which one you see, click either "Go" or "View Wipe Log".
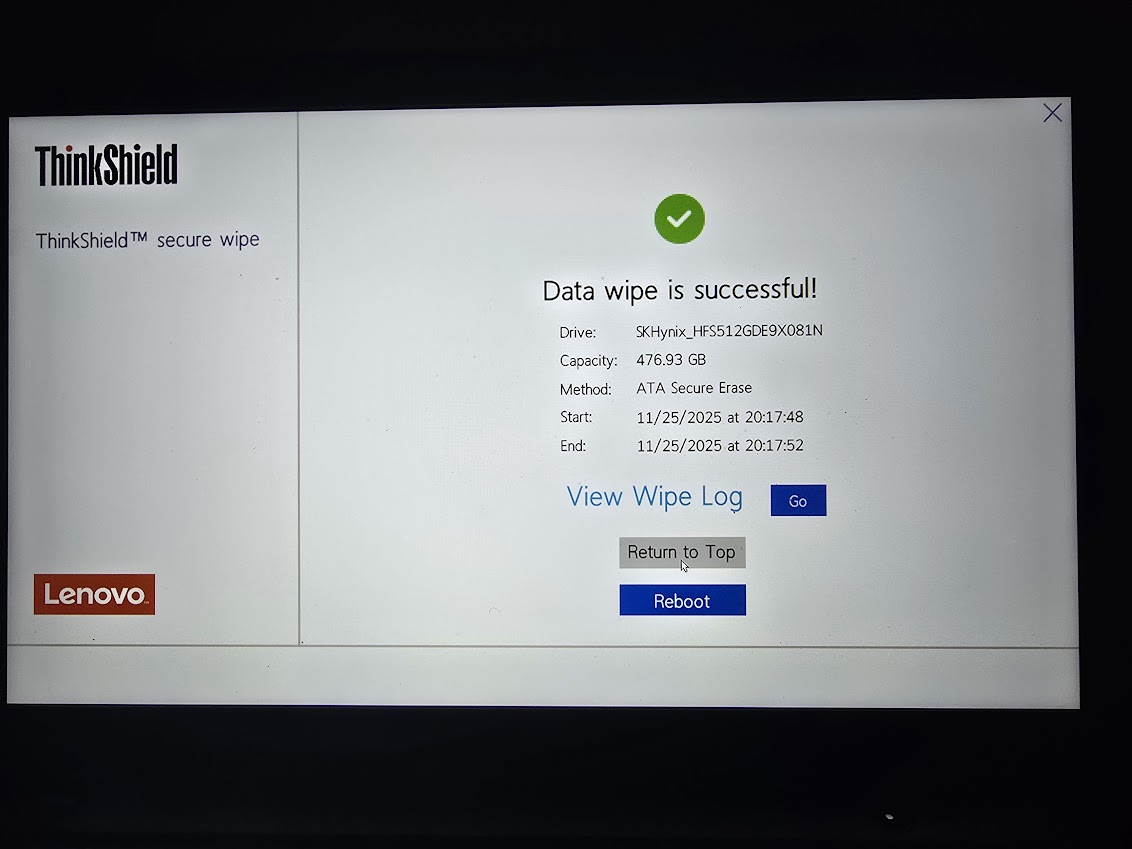
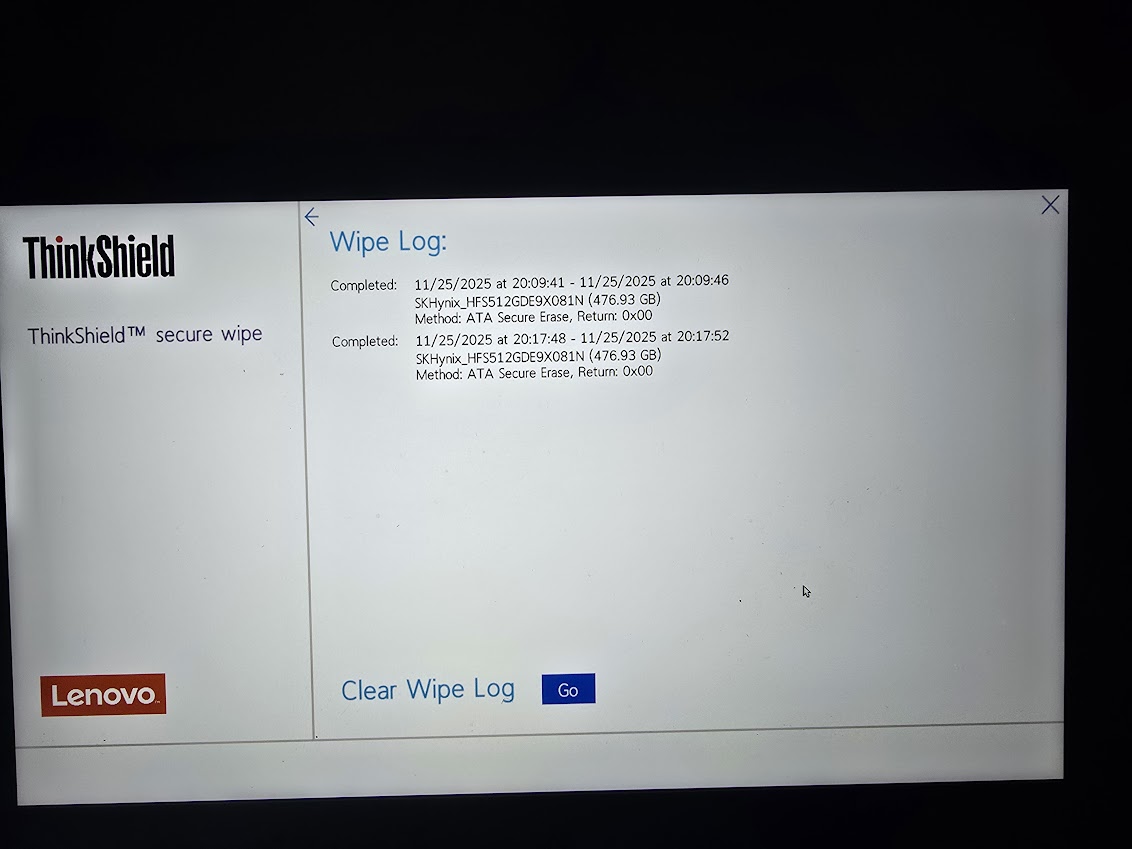
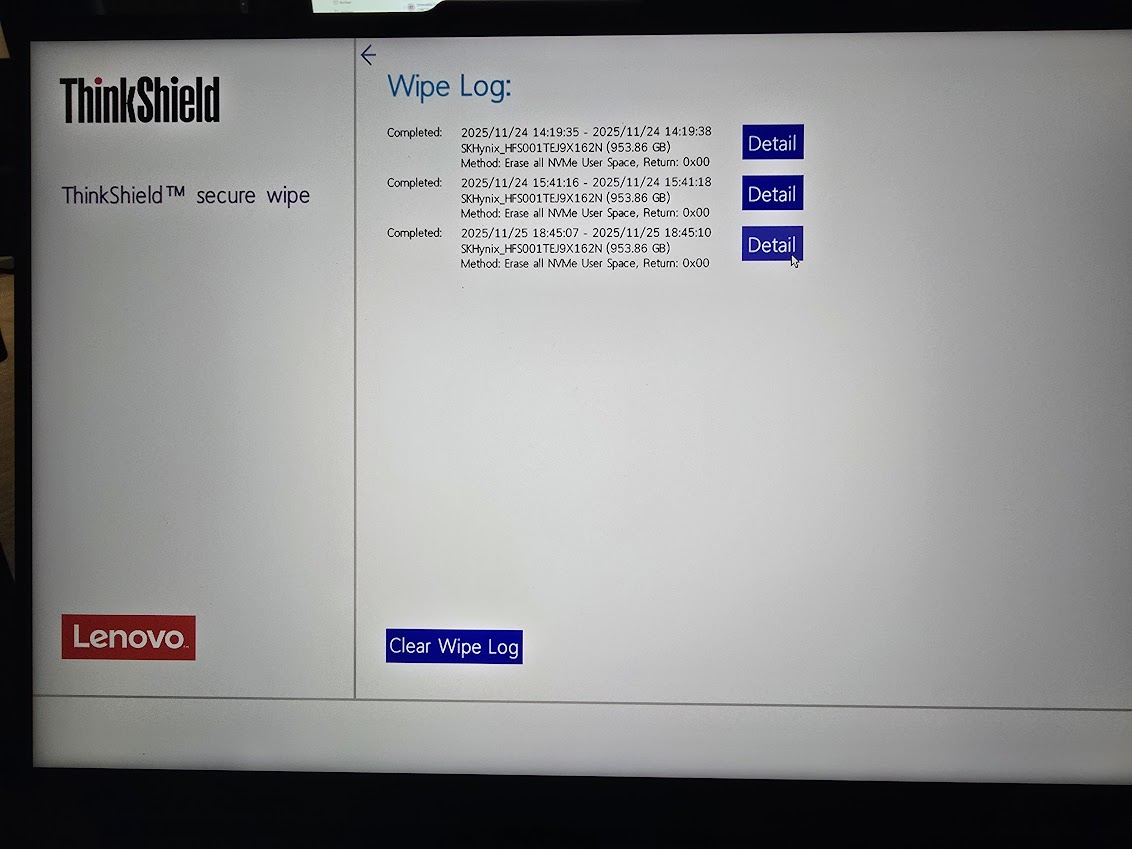
Log
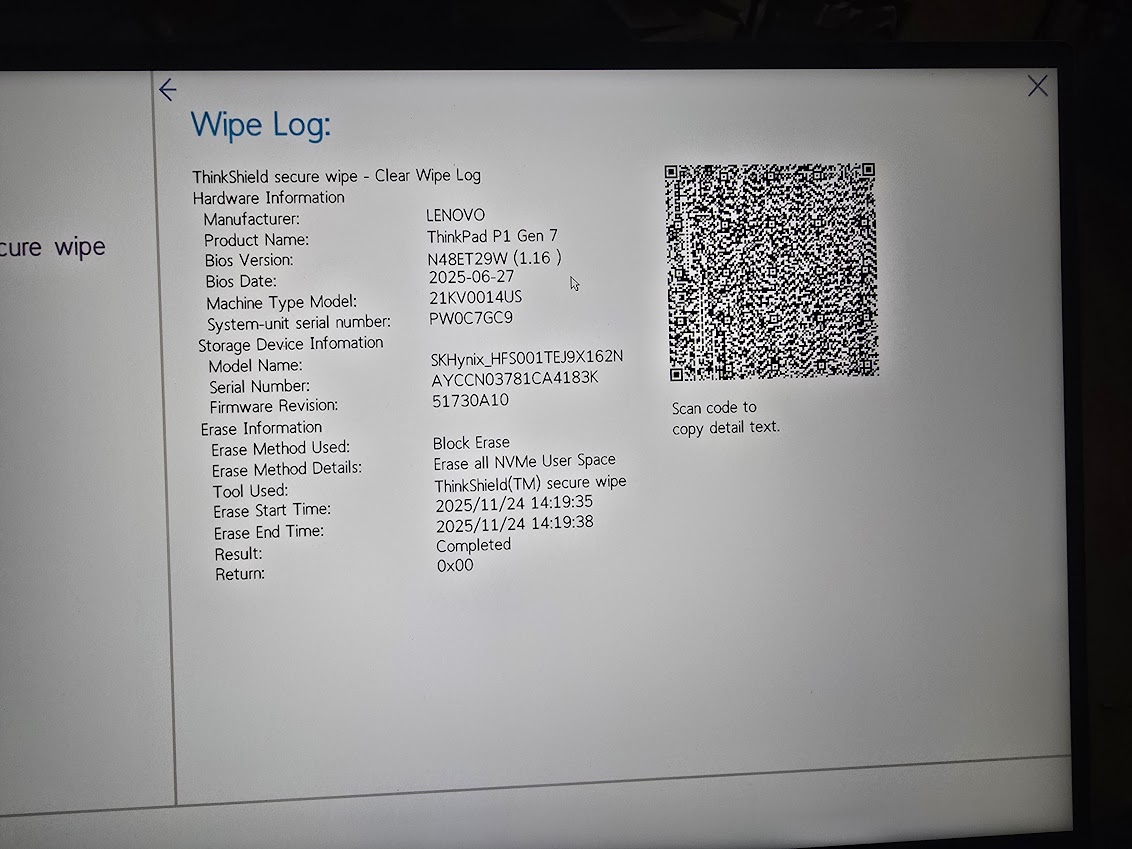
Now you'll see one of the two wipe log screens below. If there is a detail
button, click it, and take a picture of the resulting screen. Otherwise just
take a picture of this screen and email it to
me.
If you've made it this far, you should have a computer ready for a fresh
Windows install. Hopefully you already made your factory restore disk...